2022-10-07
If you want to install node.js (npm) on mac, nodebrew is recommended.
目次
Overview
First, we will explain how to install node.js (npm) on a mac using nodebrew.
We will also introduce how to install Node.js other than using nodebrew and explain why we recommend nodebrew.
How to install node.js (npm) using nodebrew
The simple steps to install node.js (npm) on a mac using nodebrew are
- Install Homebrew
- Install nodebrew using the Homebrew command
- Install nodejs using the nodebrew command
and then install nodejs using the nodebrew command.
Let's start with the installation of Homebrew.
Install Homebrew
Homebrew is, in a nutshell, "a package management tool for macOS.
Homebrew makes it easy to install and manage nodebrew, git, mysql, and other software.
Now, paste the commands from the official Homebrew site into your own terminal (or iTerm2, etc.) and execute them.
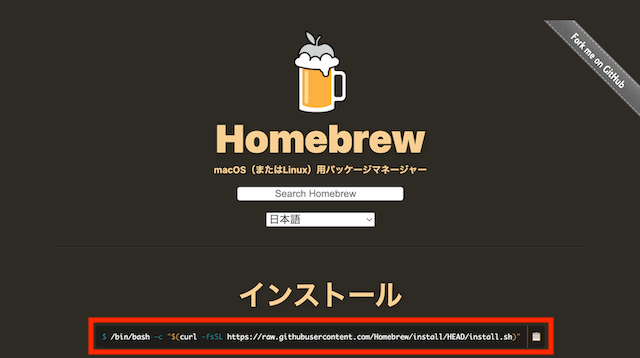
$ /bin/bash -c "$(curl -fsSL https://raw.githubusercontent.com/Homebrew/install/HEAD/install.sh)"
After the process is complete, the following commands can be used to check if the installation was successful.
(If the version is displayed, it has been successfully installed.)
$ brew -v
Install nodebrew
nodebrewnodebrew is a "node.js (npm) version management tool.
The version of node.js(npm) used in different projects is often different, and there are many situations where you need to switch versions for each work.
In such cases, nodebrew is very useful, allowing you to install a specific version or switch between versions with a single command.
Now that Homebrew has been successfully installed, the next step is to install nodebrew using the Homebrew command.
$ brew install nodebrew
After the process is complete, the following commands are used to set up the system.
$ nodebrew setup
The PATH information will then be output, so append the path information to .zshrc (or .bash_profile if you are using bash) to reflect the changes.
(If you are using bash, replace zshrc with bash_profile.)
$ echo 'export PATH=$HOME/.nodebrew/current/bin:$PATH' >> ~/.zshrc
$ source ~/.zshrc
Specify the version of node.js to be used and install node.js (npm)
Now that nodebrew has been successfully installed, check the version of node.js (npm) that can be installed using the following command.
$ nodebrew ls-remote
A list of installable versions will then be output.
You can specify a version to install from among the output versions, or you can install the stable or latest version.
# Version-specific installation
$ nodebrew install v16.16.0

# Install the latest version
$ nodebrew install latest

# Install stable version
$ nodebrew install stable
After node.js (npm) installation is complete, check that it has been installed successfully.
$ nodebrew list
# or 'nodebrew ls'
If this command outputs the version that was just installed, the installation was successful.
Currently only one version should be installed, but you can install several other versions, so please try to install them by following the above procedure.
Set the version of node to be used and check its operation
Since nodejs has only been installed and not yet activated, activate it with the following command.
(The version must be one of the versions displayed in the above command.)
$ nodebrew use v16.16.0
This command determines the version to be used, so check the operation of node.js (npm) in this state.
$ node -v
$ npm -v
When each version is displayed, the nodejs environment using nodebrew is complete.
Other ways to install node.js (npm) on mac
In addition to using nodebrew, there are two other common methods of node.js (npm) installation, which we will briefly explain first.
How to use Homebrew
There is also a way to install node.js (npm) directly without using nodebrew on Homebrew, where nodebrew was installed above. (See command below)
$ brew install node
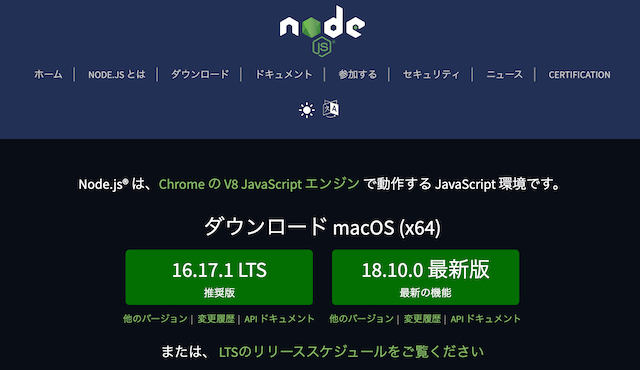
How to use the installer
The official node.js website provides a node.js(npm) installation for each OS.
Download this installer and double-click to run it, and node.js(npm) will be automatically installed on your mac.
Why nodebrew?
You can install node.js(npm) in various ways in addition to using nodebrew, but we recommend installing node.js(npm) using nodebrew.
The reason for this is that, as mentioned above, there are many cases where the node.js (npm) version differs from project to project, and there are situations where the node.js (npm) version must be downgraded or upgraded each time.
nodebrew is a node.js (npm) version management tool and is the easiest and smoothest way to change node.js (npm) versions.
Advantages and disadvantages of different methods
Please refer to the following list for a summary of the advantages and disadvantages of each of the different methods.
Summary
In this article, we explained how to install node.js (npm) on a mac using nodebrew and how it compares to other methods.
It is no exaggeration to say that node environment construction is essential for recent web projects.
I'll be updating vue, react, nuxt and next related articles as and when I have time!