![[Warp] How to install and use "Warp", the next generation terminal](http://images.ctfassets.net/eebw0y2sorkq/4ySr1PAwyWIdWY0sLJJdF/4e2d274346f57f84561bd239bfb25e88/head-warp.jpg)
2022-10-09
[Warp] How to install and use "Warp", the next generation terminal
目次
Overview
In this issue, we will explain how to install, configure, and use Warp, a highly functional next-generation terminal.
What is "Warp"?
Warp" is a fast and highly functional terminal made by Rust.
What is different from iTerm2 is that I have been using iTerm2 and have never had any problems with iTerm2, but I think that it has added features that make it more efficient.
Modern UI, of course, but also features roughly the following
- Management of commands in blocks
- A.I Command Search
- Extensive command palette like VSCode
- Workflow
- Rich command history browsing and searching
- Sharing of command execution results (automatic permalink creation)
I'm really impressed with all of them, so please switch from iTerm2!
How to install Warp
Now let's get started with the installation.
There are two installation methods: using the installer and using Homebrew.
Currently, only macOS is supported, and Linux and Windows will be supported in the future.
Account registration is also required for use.
- How to use the installer
- You can download the installer from the official website or here*.
*Email address OR Google or Github linkage to start downloading. - How to use Homebrew
-
The installation will start with the following command
$ brew install --cask warp
Basic Warp Settings and Usage
After installation is complete, launch "Warp" and login.
Warp Settings
Let us begin with the basic setup.
First, press "⌘ + ," to display the settings screen.
It can also be opened under "Settings" with the "three vertical dots" button in the upper right corner.
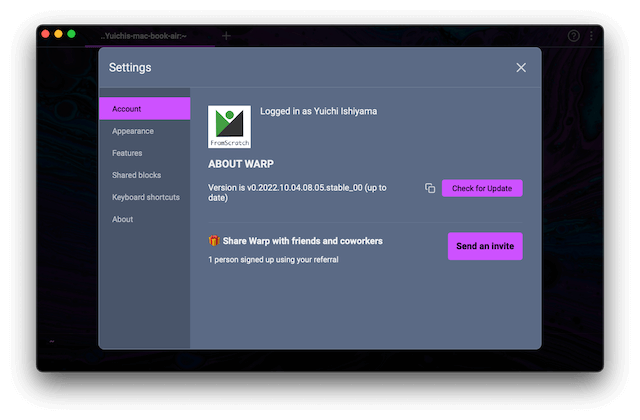
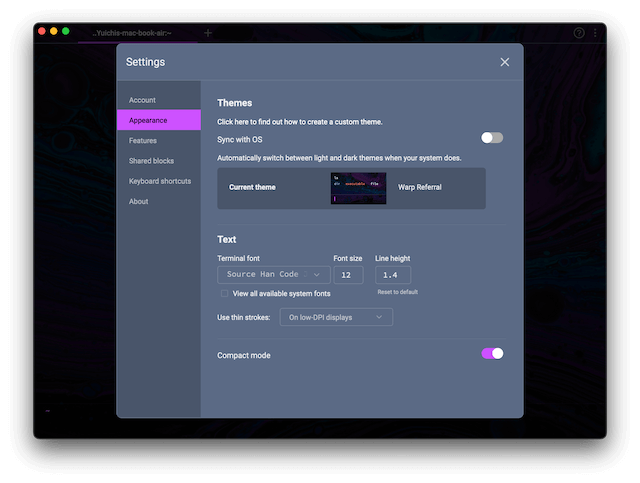
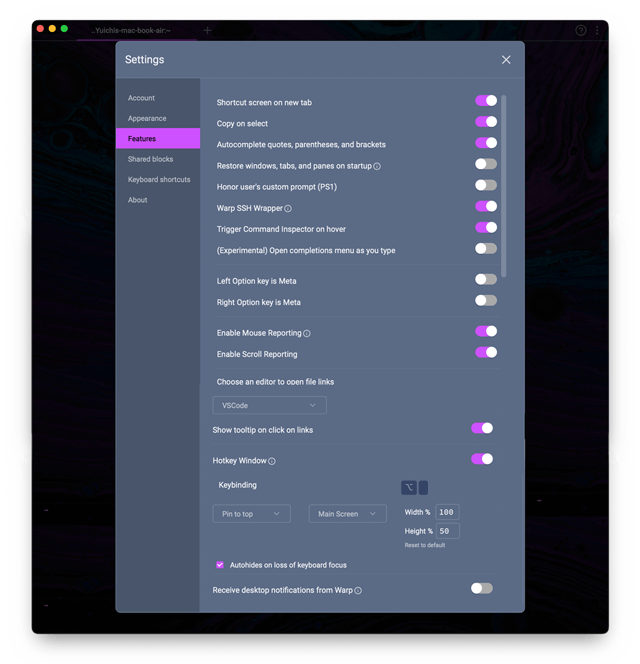
Basically, you can customize it in the "Appearance", "Features", and "Keyboard shortcuts" menus.
- Appearance
Settings related to appearance and appearance (fonts, themes, etc.) - Features
Settings related to functions (e.g., turning on/off various functions provided by Warp) - Keyboard shortcuts
Shortcut search and key bind settings provided by Warp
I'm posting my setup in case you're interested! For your reference.
Topics
At first, changing the theme and fonts in "Appearance" and setting Hotkey in "Features" should be enough.
Once you get used to it, you can customize it to your liking!
Warp Frequently Used Shortcuts
Now that we have finished the basic setup, we have compiled a list of shortcuts to help you utilize Warp more efficiently.
*The shortcuts below are for the default settings.
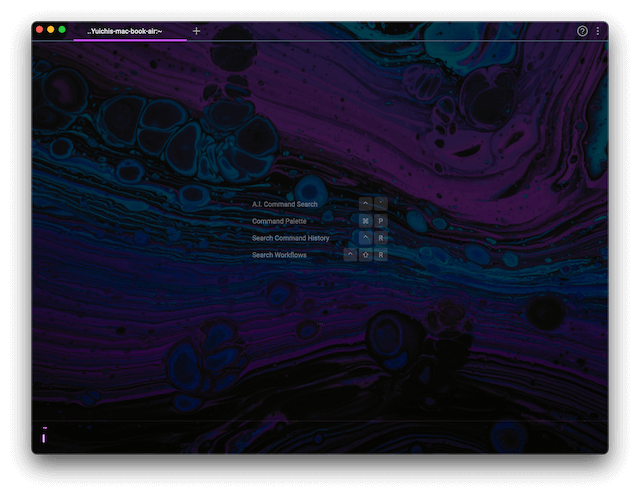
- ⌘ + P
A list of command palettes (available shortcuts) is displayed.
It is also searchable, so if you forget the shortcut, you can quickly check & execute it with this command. - ^(Control) + R
The command history is displayed and can be easily searched and executed from the command history. - ^(Control) + `
A.I Command Search function can be used, and when you enter what you want to do in a sentence, the corresponding code will be displayed.
Japanese is also supported. For example, typing "I want to search for a file," the command "find . -name "*.txt"" command was displayed. This is too awesome!A.I Command Search will send command data to "Open AI" in accordance with "Open AI's" privacy policyTherefore, please be careful when entering business-related details, etc. - ^(Control) + Shift + R
The Workflow is displayed. A number of command candidates, including frequently used commands, are displayed.
There are not only unix commands, but also git, npm, and various other command candidates, so you can reduce the time and effort of looking up commands. - ⌘ + ^(Control) + T
A theme picker is displayed for easy theme changes. - ⌘ + ↑(または↓)
The block can be moved. - ⌘ + C
In combination with the block move above, commands and output results executed in the selected block can be copied. - ⌘ + Shift + C
In combination with the block move above, commands executed in the selected block can be copied. - ⌘ + Shift + S
Combined with the above block move, you can create a public link that allows others to share the commands and output results executed in the selected block. This is also insanely awesome!
Summary
In this issue, we explained how to install, configure, and use "Warp," which could become a new terminal.
You can download the installer from the official website or here*.
*Email address OR Google or Github linkage to start downloading.
- References